Craig Safety - Compliance Safety Manager™ – Training Management Program
In the Training Program, there are many features you have access to. This includes creating/updating your: Training Setup; Class Rosters; Company Training Library; and, Master Training Library.
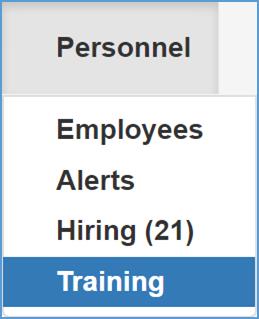
To access the Training Program, move your cursor over the Personnel tab located on the top menu bar, and select Training from the drop-down list.
This will navigate you the Employee Training: Home page. Refer to the following screenshot for the screen corresponding display.

The Training Setup module displays a calendar view of all training classes scheduled throughout your company on the Employee Training: Home screen.

In the Training Set Up module, the calendar displays the current date and the corresponding month. A feature that’s included in the Training Setup module is the ability to select a specific date you wish to view scheduled training for. To select a specific date, navigate to the calendar field labeled today located on the top left-hand side of your screen.
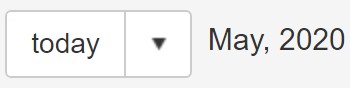
From the drop-down list, select the date you specifically want to view. Navigate by clicking the arrows at the top of the drop-down list.

Another feature available in the Training Setup module pertaining to the selected date being displayed by Day, Week or Month. In doing so, you can filter the calendar schedule by hours within a specific day, a weekly basis or the specific month you want to see results for.

To add a new training class, click the New Schedule Class button which is marked by a green plus sign in the top-left hand side of the Details tab.

Note: You also have the ability to add a new training class by double-clicking the specific date on the calendar grid.

Fill in specific information for all the required fields which include the: Start Date; Start Time; End Date; End Time; Training Class; Vendor; and, Subject.
The Training Class drop-down list is pulled from the Company Training Library module.
The Vendor drop-down lists is pulled from the Drop-down lists under the Administration section. Click here to learn more.
When all applicable information has be entered, click the Save button.
Training Management Program: Training Schedule – Class Rosters
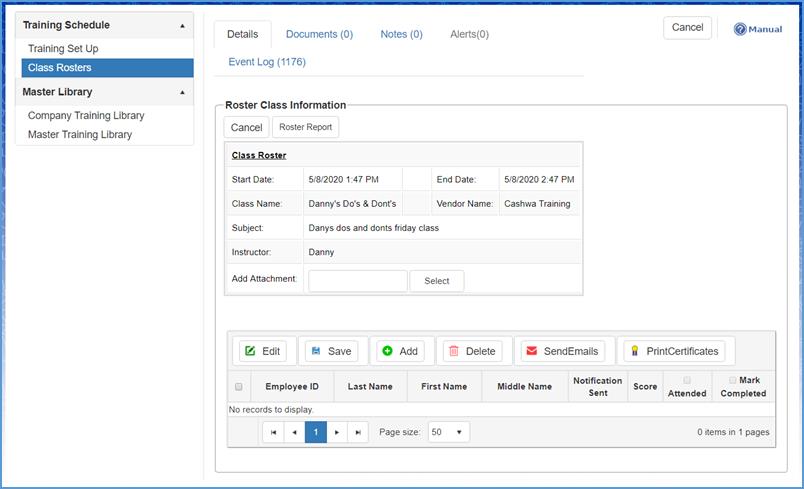
The Class Rosters module has numerous features available which help you build specific class rosters for the classes you set up in the Training Setup module. Specifically, the interface allows you to select the employees you want to schedule for the indicated class, access and print a roster report, record attendance, submit class scores (if applicable), and record class completion.
When employees are added to the class roster, the system will automatically add the indicated class to the employee’s Employee Training module under personnel management. When the class is completed and the Mark Completed field is acknowledged, it will be reflected in the employee’s Employee Training module.

Note: By default, the Class Roster list is sorted by Start Date.
From the list of classes, select the class you want to create/update a roster for and click the Edit icon.
Step 1: To add employees to the roster, click the Add button located on next to the Save and Delete button at the bottom of your screen.

When clicking the Add button, the Employee Selection List window will open, which shows a list of all currently active employees within your organization.
Use the fields at the top of the window as filters to limit the list.

For instance, if you want to itemize only CDL Drivers for the specified class, you would enter CDL Drivers into the Employee Type field. By doing so, a list will be generated which only includes CDL drivers within your organization.
Select the employees you wish to add to the roster, then click the Add button.
After adding employees to the roster, you have the ability to send emails out notifying them about the class they have been scheduled for. To send an email to the employees in your class roster, click the Send Emails button marked by a red envelope icon. This will send a basic email to the selected employees with details pertaining to the training class. Once notified, the Notification Sent will be reflected under the roster class information. Refer to the following screenshot for an example email.
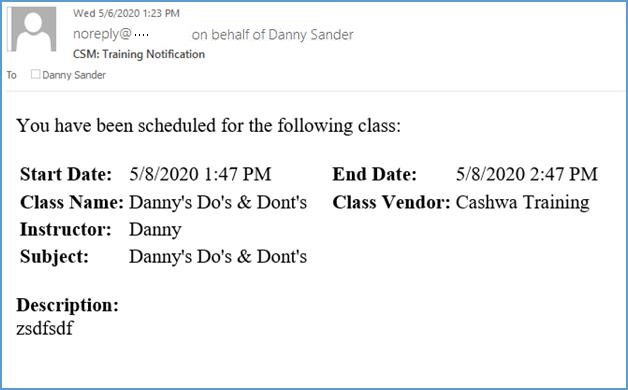
Note: To send out email notifications to employees in the specified record, their email(s) must be recorded under Personnel Management.
Another feature available within Craig Safety - Compliance Safety Manager™ is the option of printing off a roster report. To print out a roster report, click the Roster Report button located in the top left-hand side of your screen, next to the Cancel button.
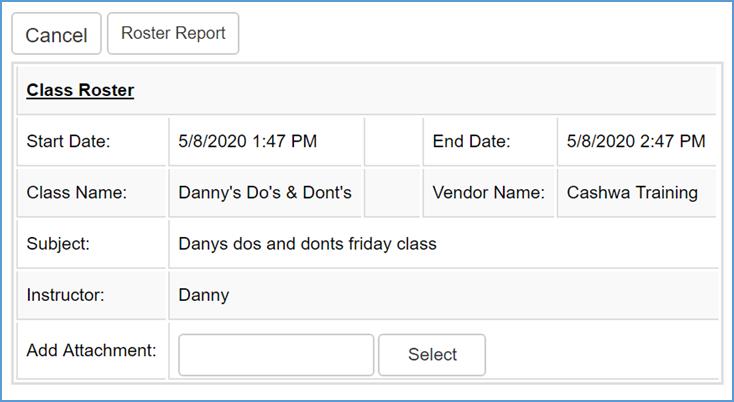
By doing so, the system will generate a pop-up window with a class roster report.

Note: Your company’s logo will appear in the top right-hand corner of this report.
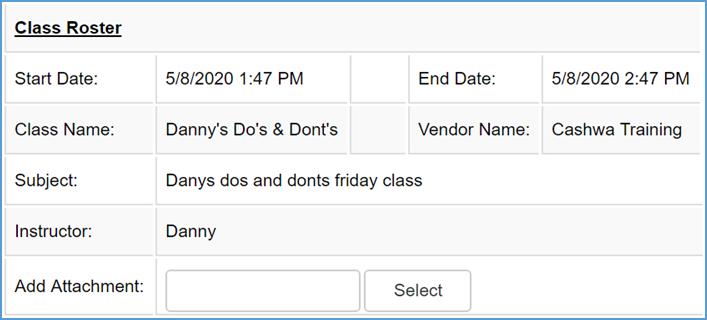
The Class Roster report will include the:Location Name; Start Date; End Date; Class Name; Vendor; Subject; and, Instructor. By printing off the Class Roster report, you can pass it around the classroom to have each employee sign-in, acknowledging their participation in the course.
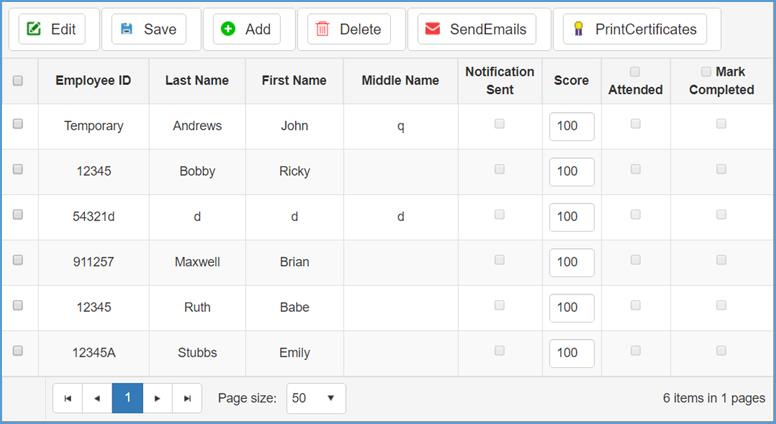
When the training class has been completed, you have the option of manually updating the system by stating if the employee Attended the class, what their Score is, and Mark Completed if the course has been passed. You can complete these actions by clicking the Edit button at the top left-hand side of the roster grid.
Note: When you have selected the Mark Completed checkbox for an employee, there Training Module in the personnel management program will reflect these records with the completed date as well.
Once your employees in the specified class roster have completed the course, you have the ability to Print Certificates for each individual. To print a certificate, select the employees you want to create certificates for and click the Print Certificates button marked by a purple and yellow ribbon.
A new window will appear with the Certificate of Completion for the selected individuals. The certificate with include the employee’s name, course name, date of completion, and the vendor.
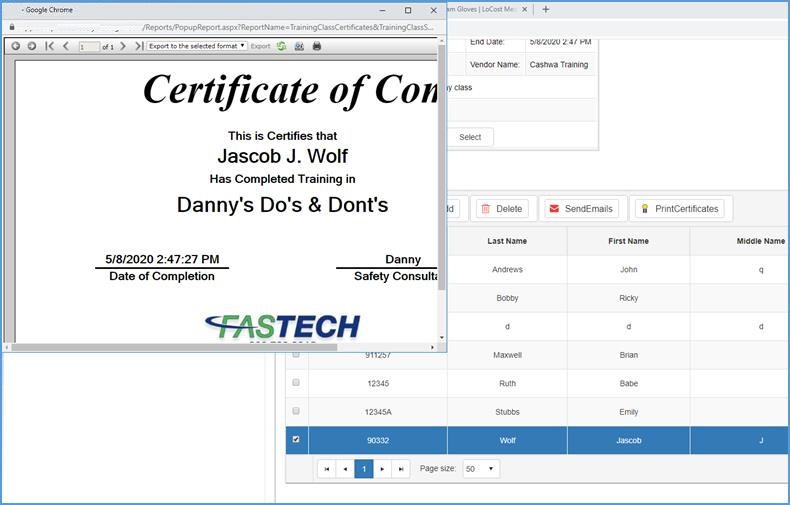
Note: Your company’s logo will also be applied to each certificate at the bottom of the page.
To add any additional documentation (e.g., a scanned copy of the sign-in sheet), click the Select button in the Add Attachment field under the Class Roster grid. Refer to the following screenshot for guidance.
Training Management Program: Master Library – Company Training Library

To add a new class to Company Training Library module, click the Add button marked by a green plus sign. The following screen will appear.
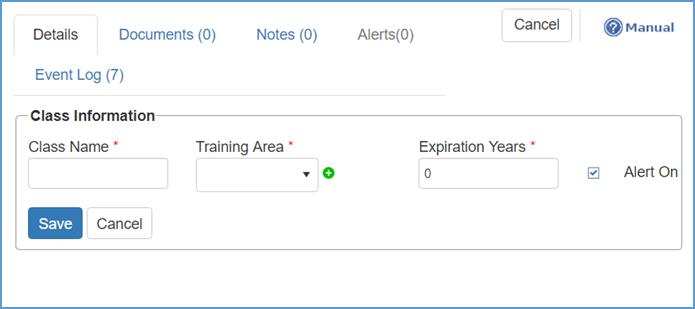
Fill in the required fields, which includes the: Class Name; Training Area; and, Expiration Years.
Note: By clicking the checkbox for the Alert On field, the system will automatically prompt an alert before the expiration date occurs.
Click the Save button when complete. The changes will be reflected in the Company Training Library homepage.
Training Management Program: Master Library – Master Training Library
The Master Training Library module encompasses all training classes within the Craig Safety - Compliance Safety Manager™ system.
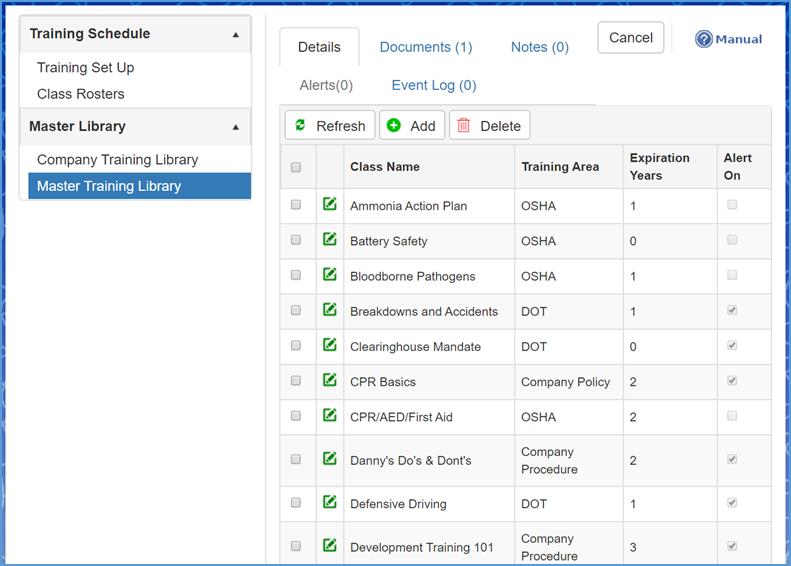
To add a new class to Master Training Library module, click the Add button marked by a green plus sign. The following screen will appear.

Fill in the required fields, which includes the: Class Name; Training Area; and, Expiration Years.
If the Training Area drop-down list doesn’t include the value you are looking for, you can add a new value by clicking the green plus sign.

The following screen will appear.
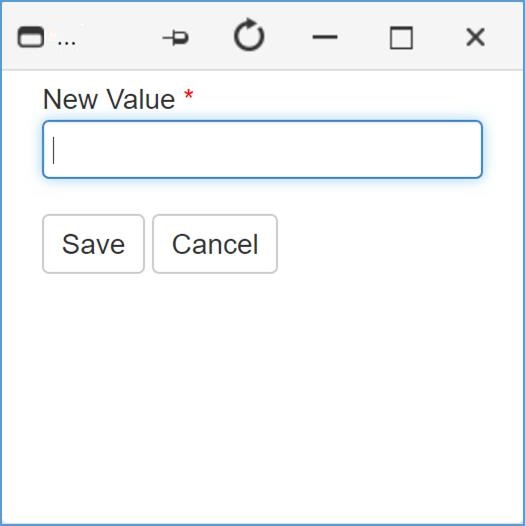
Enter the specified value in the New Value field, and click the Save button when complete. The changes will be reflected in the drop-down list.
Note: By clicking the checkbox for the Alert On field, the system will automatically prompt an alert before the expiration date occurs.
Click the Save button when complete. The changes will be reflected in the Master Training Library homepage.